Testing a new prebuilt gaming PC within its return window means working through spec verification, benchmarking, and stress testing in that specific order, front-loaded into your first few days rather than spread casually across the full 30 days. The goal is catching a wrong component, a bottleneck, or an unstable system while you can still return or exchange it, not after the window has quietly closed.
The order matters because each step catches a different category of problem, and later steps depend on earlier ones being clean — there’s little point running a multi-hour stress test on a system that turns out to have the wrong GPU installed, which a five-minute spec check would have caught immediately.
As an Amazon Associate we earn from qualifying purchases at no extra cost to you. Product prices and availability are accurate as of the date shown and are subject to change.


Top 3 picks at a glance
Quick answer
On day one: verify specs match your order and run a quick benchmark. Within the first week: run a full sustained stress test and check for thermal throttling. Throughout the return window: use the system normally in your actual games and watch for crashes, artifacts, or unexpected shutdowns. Don’t wait until day 25 to start any of this.
| When | What to check | Tool |
|---|---|---|
| Day 1 | Spec verification | HWiNFO64, CPU-Z, GPU-Z |
| Day 1-2 | Baseline benchmark | Cinebench, 3DMark |
| Week 1 | Sustained stress test | OCCT or Prime95, plus GPU stress test |
| Ongoing through window | Real-world stability | Your actual games, monitored |
Why testing order matters for a return window
A 30-day return window is a hard deadline, and different tests take different amounts of time to run and different amounts of time to reveal a problem. Spec verification takes minutes and immediately catches the most clear-cut issue — receiving different hardware than what you ordered or paid for. Benchmarking takes slightly longer and catches performance that’s meaningfully below what your specific components should deliver. Stress testing takes the longest and catches instability or thermal problems that only show up under sustained load, which is also the category of issue most likely to be missed if you’re only doing casual, everyday use during the return window.
Running tests in order of speed and clarity — fastest, most obvious problems first — means you catch the easiest-to-fix issues (wrong part, easy exchange) before investing time in longer tests, and it means that if something is wrong, you find out with as much of the return window still remaining as possible to actually act on it.
Waiting until day 25 to run your first stress test, then discovering instability, leaves you almost no time to get a replacement processed before the window closes — starting testing immediately is what actually protects your return rights, not the policy itself.
Laying out a concrete day-by-day plan against a typical 30-day window makes the priorities clearer than a general “test early” instruction. Days 1-2 should cover spec verification and baseline benchmarking, since these are fast and catch the most unambiguous problems. Days 3-7 should cover sustained stress testing, including one longer overnight session, since these tests take real time to run and to reveal intermittent issues. Days 8-25 should be genuine real-world use in your actual games, since this is where issues specific to your workload rather than a synthetic test can surface. Days 25-30 should be reserved as a buffer for actually processing a return or exchange if anything turned up earlier — not as the window in which you finally get around to testing for the first time.
Day one: spec verification
Before anything else, confirm the PC actually contains the exact CPU, GPU, RAM amount and speed, and storage capacity you ordered and paid for. Install HWiNFO64 or a simpler tool like Speccy, or use CPU-Z and GPU-Z for a more focused check, and compare every listed component against your order confirmation or invoice line by line.
This catches the single most clear-cut and fastest-to-resolve problem: a builder shipping the wrong part, whether from a genuine error or a substitution you weren’t informed of. It’s also the fastest possible check, taking well under ten minutes, so there’s no reason to delay it past your very first session with the machine.
Pay particular attention to RAM speed and configuration (some builders ship RAM that defaults to a lower speed than advertised until XMP or an equivalent profile is manually enabled) and storage type (confirming you received the specific SSD or NVMe drive listed, not a slower substitute), since these are common areas where a technically-not-wrong-but-not-quite-right substitution can occur.
Day one to two: baseline benchmarking
Once specs check out, run a benchmark that matches your components — Cinebench for CPU performance, 3DMark for overall gaming-relevant GPU performance — and compare your results against publicly available benchmark results for the same CPU and GPU combination. This isn’t about hitting an exact number, since normal system variance exists, but a result significantly below what similar configurations commonly achieve is worth investigating before you get further into the return window.
A single benchmark run is usually enough at this stage to catch a genuinely broken or underperforming configuration; you’re not trying to fine-tune performance yet, just confirming the system is in a reasonable ballpark for its listed hardware.
As a general rule of thumb for judging how far below expectations is actually concerning: a result within roughly 5-10% of typical published scores for the same hardware combination is within normal system-to-system variance and not itself a red flag. A result that falls short by a much larger margin, particularly by more than 15-20% below the typical range for the same components, is a genuine signal worth investigating rather than dismissing as ordinary variation, especially once you’ve already ruled out the common quick explanations below.
If your results are noticeably low, check for the most common quick explanations first — RAM not running at its rated speed, the discrete GPU not actually being used for the benchmark (check with a monitoring tool that the correct GPU is active), or an unusually restrictive power plan — before assuming a bigger hardware problem.
Week one: sustained stress testing
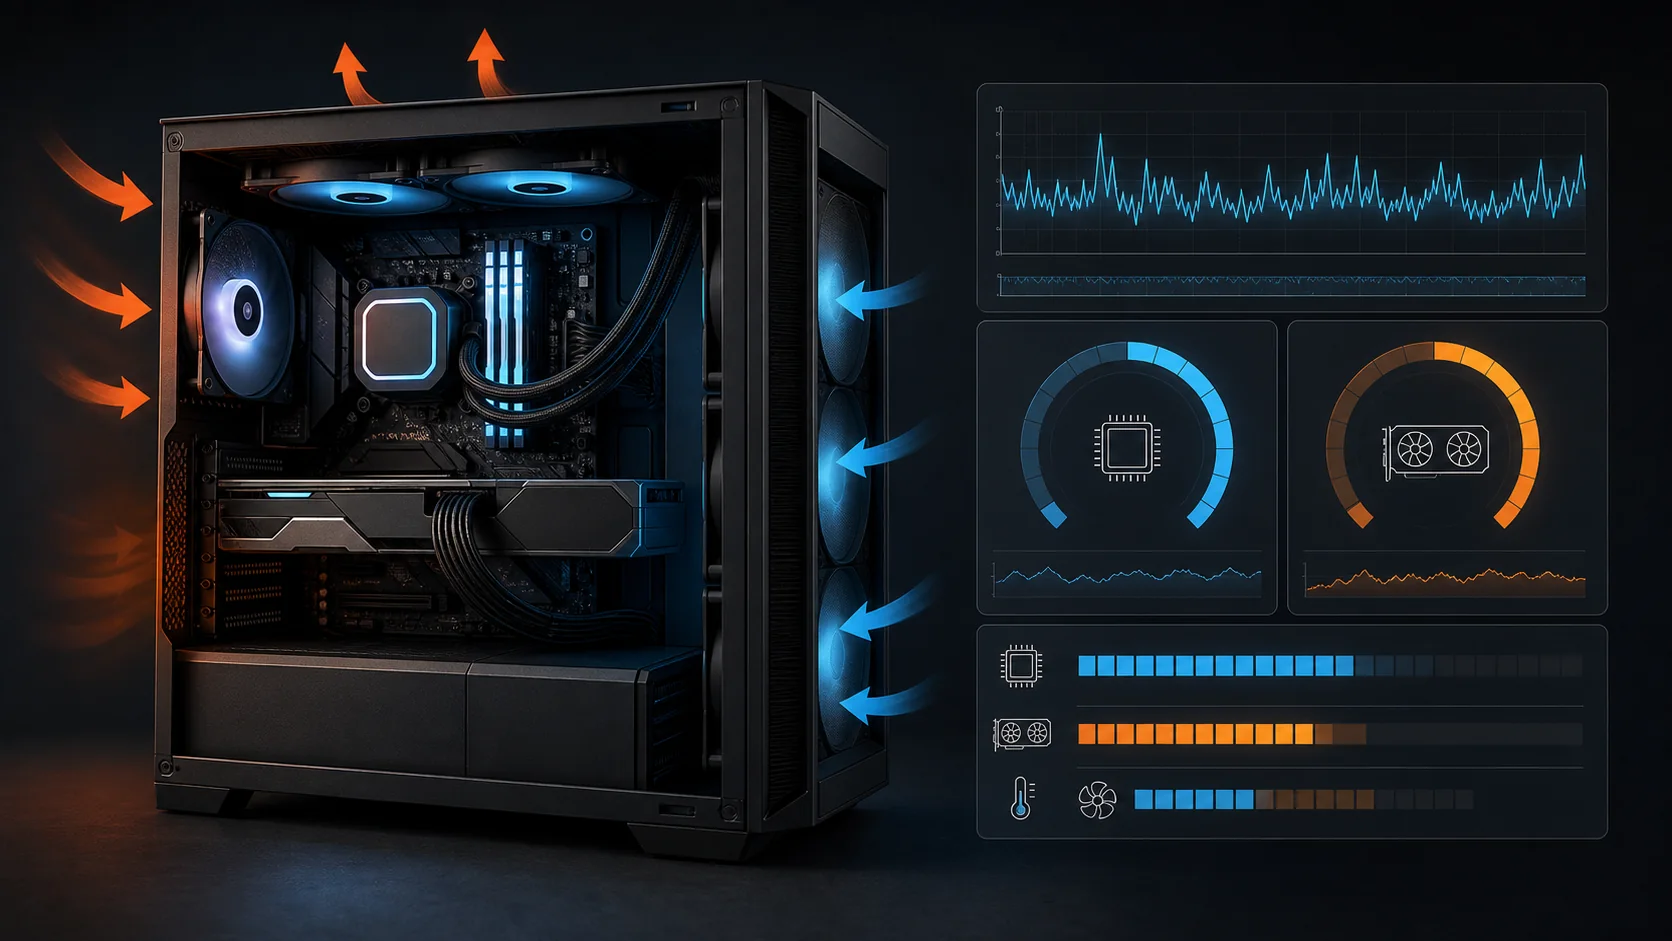
With specs and baseline performance confirmed reasonable, run a sustained stress test — a CPU stress test like OCCT or Prime95, and a separate GPU stress test, ideally for at least twenty to thirty minutes each, watching temperatures and checking for crashes, freezes, or visual corruption throughout. This is the step that catches instability and thermal problems that a quick benchmark alone won’t reveal, since those often only appear once a component has been under load long enough to reach its thermal ceiling.
Running an extended stress test overnight at some point in your first week, rather than only short daytime tests, adds another layer of confidence, since some instability issues are intermittent and don’t reliably show up in every short test run.
Monitor temperatures throughout using HWiNFO64 or the stress-testing tool’s own readout — a system that stress tests without crashing but runs unusually hot compared to expectations for that hardware is still worth flagging, even if it technically survives the test, since it may point toward a cooling issue that shortens component lifespan over time.
What counts as an anomalous temperature depends on the specific CPU and GPU, but a practical anchor point is each component’s own maximum safe operating temperature, published in its official specifications — most modern CPUs and GPUs are individually rated with a maximum junction or operating temperature somewhere in the neighborhood of 90-100°C for many mainstream desktop-class parts, and prebuilt systems are built around desktop-class components far more often than laptop-class ones. Sustained stress test temperatures that sit comfortably below that published maximum, with the system holding stable clock speeds, are a healthy result. Temperatures that repeatedly hit at or near that published maximum accompanied by visible clock speed drops (throttling) during the stress test are the specific combination worth documenting as a genuine concern, rather than a single high number in isolation without any accompanying performance impact.
Throughout the window: real-world use
Alongside the structured tests above, use the PC normally in your actual games throughout the remaining return window, watching for crashes, graphical artifacts, unexpected shutdowns, or unusual noise that synthetic tests might not surface. Real games sometimes stress specific hardware paths differently than benchmarks do, and issues that only appear in one particular game are still worth documenting and reporting.
Keep a simple log — even just notes on your phone — of any unusual behavior with the date and what you were doing at the time, since this makes it much easier to describe the issue clearly to support if you do need to request a return or repair, rather than trying to recall details after the fact.
Testing a new prebuilt within the return window
- Day one: install HWiNFO64, CPU-Z, and GPU-Z, and verify every component matches your order.
- Day one: check that RAM is running at its rated speed, not a lower default.
- Day one or two: run Cinebench and 3DMark, comparing results against published benchmarks for your exact hardware.
- Within the first week: run a sustained CPU and GPU stress test for at least twenty to thirty minutes each.
- Within the first week: run one extended overnight stress test session to catch intermittent issues.
- Throughout the remaining window: use the PC in your actual games, logging any unusual behavior with dates.
- Reserve the final days of the window as a buffer for processing a return, not for testing for the first time.
- If any issue appears at any stage, contact the seller promptly rather than waiting to see if it recurs closer to the deadline.
When this testing order doesn’t catch everything
Some component failures are genuinely intermittent or only triggered by very specific conditions (a particular game’s engine, a specific ambient temperature, a specific power state) that a general testing routine won’t reliably reproduce within a 30-day window regardless of how thorough it is. This is a real limitation, not a flaw in the testing approach — some issues simply take longer than any return window allows to surface.
Testing also can’t catch problems that develop after extended use rather than being present from day one, like thermal paste that was applied poorly and degrades faster than normal, which might not show clear symptoms until well after the return window has closed.
If your testing turns up borderline results — not a clear failure, but not quite matching expectations either — err on the side of contacting the seller within the window rather than waiting to see if it resolves itself, since you generally can’t reopen a return window once it’s closed regardless of what you discover afterward.
Troubleshooting
Symptom: Specs check reveals different RAM or storage than what was ordered. Cause: builder error, or a substitution made without clear notification. Fix: contact the seller immediately with your order confirmation and the spec-check results as documentation, well within the return window.
Symptom: Benchmark scores are noticeably lower than expected for the listed hardware. Cause: could be RAM running at a lower default speed, an incorrect GPU being used, or an actual underperforming component. Fix: check RAM speed and active GPU first as the most common quick explanations before assuming hardware failure.
Symptom: Stress test causes a crash or shutdown that doesn’t happen during normal use. Cause: likely a thermal or power delivery issue that only manifests under sustained maximum load. Fix: document the exact test, duration, and temperatures at the time of failure, and report it to the seller with this evidence.
Symptom: System passes all tests but “feels” inconsistent in specific games. Cause: could be a game-specific software issue unrelated to hardware, or a hardware issue the synthetic tests didn’t trigger. Fix: log the specific games and conditions where it occurs, and monitor with HWiNFO64 during those sessions to check for correlating temperature or clock speed anomalies.
Symptom: Stress test temperatures sit right at the component’s published maximum with visible throttling, even though the test technically completes without crashing. Cause: this combination indicates the cooling system is genuinely marginal for the installed hardware under sustained load. Fix: treat this as a real finding worth reporting, not just a passing test, since sustained near-maximum operation with throttling points to a cooling adequacy problem rather than normal behavior.
Frequently asked questions
What should I test on day one with a new prebuilt?
Start with a full specs check (HWiNFO64 or Speccy) to confirm you received the exact CPU, GPU, RAM, and storage you paid for, then a short benchmark run to confirm baseline performance is in a reasonable range, before doing anything else with the machine.
How long should I stress test before trusting the PC is stable?
A single stress test pass of 20-30 minutes per component is a reasonable baseline check, but running one extended overnight stress test session sometime in your first week catches more intermittent issues than a single short pass alone.
Should I install all my normal software before or after testing?
Do your core hardware checks (spec verification, benchmarking, stress testing) on a clean or near-clean install first, before adding all your usual software, so you’re not troubleshooting a hardware issue and a software conflict at the same time.
What’s the biggest testing mistake people make with a new prebuilt?
Waiting too long to start testing, or only checking that the PC turns on and runs their main game acceptably, without verifying specs match the order or running any sustained stress test — issues that only show up under sustained load can easily go unnoticed until after the return window closes.
Do I need special tools to test a prebuilt properly?
No special hardware is required. Free software — HWiNFO64, CPU-Z, GPU-Z, Cinebench, 3DMark’s free tier, and a stress-testing tool like OCCT or Prime95 — covers spec verification, benchmarking, and stability testing without any purchase needed.
Marcus Reilly built this testing sequence around the same order used in his two-bench test lab with calibrated power meters and thermal probes, adapted for what’s practically achievable at home without lab equipment. If your results suggest a deeper issue, how to check if a prebuilt has bottlenecks and gaming PC warranty and support compared cover what to do next. For background on what to expect from your hardware in the first place, see what specs matter most in a gaming PC and how to choose a prebuilt gaming PC.