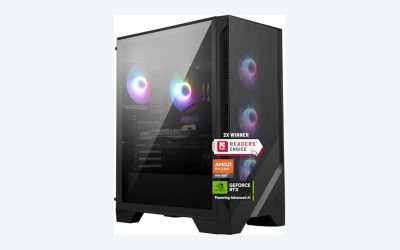
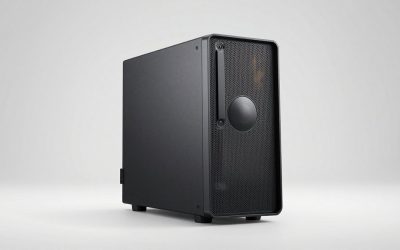
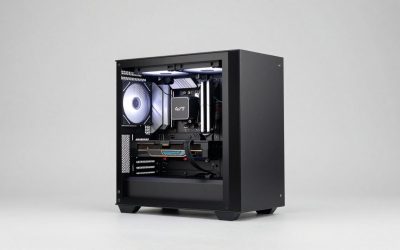
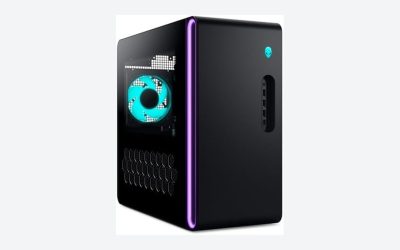
Small form factor (SFF) computing delivers massive performance within compact enclosures—typically under 20 liters in volume, with many sandwich-style chassis measuring as little as 7 to 11 liters. However, packing high-wattage components (such as an 850W SFX power supply and a 300mm graphics card) into a constrained footprint makes cable management unforgiving. When done poorly, loose wiring creates severe thermal penalties, restricting intake pathways, choking exhaust zones, and risking physical interference with high-RPM 92mm or 120mm cooling fans. Excess cable slack stuffed haphazardly against motherboards can also apply dangerous leverage to delicate surface-mount headers or pinch against sharp interior aluminum frames.
Beyond internal chassis health, a compact PC build often serves minimalist workstation aesthetics. Letting thick, tangled peripheral cables spill across your desk defeats the purpose of choosing an ultra-compact footprint. Achieving a clean, high-airflow setup requires deliberate spatial planning, the right anchoring hardware, and methodical routing sequences. Whether you are assembling an ultra-dense workstation for 2026 component standards or tidying an existing setup, this guide outlines the exact process to streamline your small form factor system inside and out.
As an Amazon Associate we earn from qualifying purchases at no extra cost to you.


Our Top Picks

What You Need
Managing cables in tight spaces requires specialized, low-profile accessories rather than standard full-tower equipment. Gather these supplies before opening your chassis:
| Item | Why You Need It | Optional? |
|---|---|---|
| Custom or Short SFX Cables (Silicone/Unsleeved) | Standard stock PSU cables are often 300mm to 600mm long; custom 150mm to 250mm lengths eliminate unmanageable bulk. | Optional (Recommended for <12L cases) |
| Micro Hook-and-Loop (Velcro) Cable Straps | Allows modular bundling without applying crushing pressure to delicate signal wires. | No |
| Miniature Nylon Zip Ties (4-inch, 18 lb tensile) | Secures thin front-panel I/O and fan leads firmly against structural chassis rails. | No |
| Flush Wire Cutters | Cuts zip ties perfectly flat to prevent razor-sharp plastic edges inside cramped interiors. | No |
| Low-Profile Adhesive Tie Mounts (0.5 x 0.5 inch) | Creates custom anchor points on flat structural spine panels where stock tie loops are missing. | Optional |
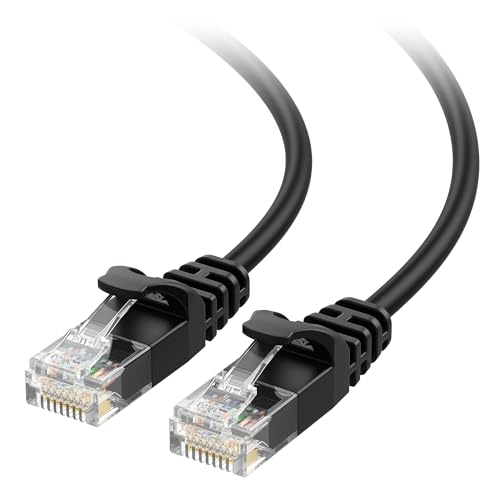
| Cable Matters 10Gbps Snagless Thin Cat 6 Ethernet Cable (3ft 5-Pack, around $9, or 20ft Single, around $7) | Provides high-bandwidth networking with an ultra-thin outer diameter that routes easily through tight desk channels. | Optional (For external desk management) |
| J-Channel or Under-Desk Cable Raceway | Hides external peripheral, monitor, and power cables escaping the rear I/O panel. | No |
Step-by-Step Guide to SFF Cable Management
Step 1: Map the Routing Channels and Dry-Fit Components
Estimated Time: 15–20 minutes
Before fastening down the motherboard or power supply, study your case’s central spine and perimeter channels. Identify natural recesses—such as the 10mm to 15mm gap behind the power supply bracket or the channel between the graphics card backplate and the chassis divider. Dry-fit the motherboard, SFX PSU, and GPU to see where headers align relative to cutouts. Identify which cables must lie flat beneath structural components before those components are screwed down permanently.
Step 2: Pre-Route Front Panel I/O and Chassis Fan Leads
Estimated Time: 20–25 minutes
Front-panel connectors (power switch, USB-C front headers, HD audio) and case fan wires are thin and easily trapped if left for last. Connect these headers to the motherboard while it is partially seated or immediately after fastening the mounting screws. Route the thin leads tightly along the outer perimeter edges of the case frame. Fasten them using 4-inch zip ties, snipping the tails flush with your cutters. Ensure fan leads run well clear of exposed 15mm slim fan blades or radiator fins.
Step 3: Install and Shape the Primary Power Harnesses
Estimated Time: 30–40 minutes
Power cables are the thickest obstruction in an SFF build. Work in order of cable thickness:
- 24-Pin ATX Cable: Train the 24-pin cable by manually bending it into an accordion fold or gentle 90-degree sweep before plugging it in. Tuck the excess fold directly into the void beneath the power supply cage.
- 8-Pin EPS (CPU) Cable: Route this along the top or rear spine seam of the chassis, avoiding contact with top exhaust fan blades.
- PCIe / 12VHPWR Cables: For high-draw cards (250W to 450W), ensure the connector seats completely square into the GPU socket. Maintain at least a 30mm to 35mm straight run before introducing any bend to prevent terminal pin strain and overheating.
Step 4: Bundle Slack and Secure Internal Clearances
Estimated Time: 15–20 minutes
Use micro hook-and-loop straps to bundle overlapping runs together against the chassis spine. Verify that no wire rests directly against high-heat areas, such as unshielded VRM heatsinks or GPU heat pipes (which regularly exceed 70°C under load). Spin every case fan by hand to ensure zero blade tick or cable interference before closing the side panels.
Step 5: Tidy External Desk Runs and Peripheral Drops
Estimated Time: 20–30 minutes
A compact system looks messy if rigid, thick cables pull on the back of the case. Gather the power, display, and data lines exiting the rear I/O into a split-braided sleeve. For high-speed networking without bulky jacket stiffness, route flexible lines like the Cable Matters 10Gbps Snagless Thin Cat 6 Ethernet Cable (around $9 for a 3ft 5-pack, or around $7 for a 20ft run). Its slim diameter flexes cleanly around monitor arms and into under-desk raceways without shifting your lightweight SFF case off its feet.
Mistakes to Avoid
- Daisy-Chaining High-Draw GPU Cables: Never use a single split PCIe cable for graphics cards drawing over 225W; run dedicated individual power leads to prevent connector melting.
- Leaving Jagged Zip Tie Edges: Cutting zip ties with standard scissors leaves sharp angled plastic burs that scratch hands and pierce wire insulation in tight enclosures. Always use flush cutters.
- Ignoring Fan Clearances Under Load: A cable that clears a fan while cold can expand or shift slightly under thermal airflow, resulting in blade contact. Maintain at least 5mm of clear space or install wire fan grills.
- Bending Heavy Gauges Too Close to Connectors: Forcing tight 90-degree bends right at the terminal pins of 24-pin or 12VHPWR plugs can loosen pin crimps, leading to voltage drops and thermal failure.
How Often to Maintain SFF Cable Management
Small form factor systems accumulate dust faster in concentrated areas due to high static-pressure fans operating in restricted volumes. Inspect internal cable runs every 6 to 12 months during your routine dust cleaning. Ensure adhesive tie mounts have not lost adhesion due to internal ambient heat, verify that cables have not drifted toward fan blades, and check that connector latches remain fully seated.
When to Call a Pro or Replace Parts
If you are forcing side panels shut against rigid, stock PVC-jacketed power supply cables, do not force them. Forcing panels can bend motherboard PCB layers or snap surface headers. In this scenario, replace your stock PSU cables with custom-length, highly flexible silicone unsleeved cables (typically costing $30 to $80). If you notice discolored connector plastic, stiffened/melted insulation, or pin back-out on your high-wattage power lines, retire the cable immediately and consult an experienced system builder.
Frequently Asked Questions
Are custom unsleeved cables strictly necessary for SFF cases?
They are not mandatory for larger 15L to 20L cases, but for sandwich-style enclosures under 11 liters, custom unsleeved silicone or thin Teflon cables make assembly significantly easier. They eliminate roughly 60% of the volume occupied by stock sleeved cables and drastically improve internal ventilation pathways.
How do I prevent cables from hitting slim 15mm fans?
Install standard wire fan guards (finger guards) on all open fan intakes and exhausts. In tight sub-10L builds where space is measured in millimeters, a metal wire guard adds only 1.5mm to 2mm of thickness and physically blocks wiring from touching moving blades.
Do adhesive cable tie mounts hold up in warm mini-ITX cases?
Standard foam-tape mounts often fail when internal case temperatures stay between 40°C and 55°C. Use mounts equipped with high-temperature acrylic adhesive (such as 3M VHB tape), and clean the metal surface thoroughly with 90%+ isopropyl alcohol before applying firm pressure for 30 seconds.
What is the best way to handle rigid external Ethernet cables on a small desk?
Standard Cat 6 cables are stiff and can push lightweight SFF cases (which often weigh only 8 to 15 pounds) out of alignment. Swapping to thin, snagless patch cords—such as the Cable Matters 10Gbps Thin Cat 6 Ethernet Cable—reduces cord strain, allowing clean, flexible right-angle routing into raceways without dragging your case across the desk.