The cheapest gaming PC worth owning costs about $700 to $850 built or bought new. The cheapest gaming PC that technically exists costs around $300 and is a used office desktop with a small graphics card dropped into it. Those two sentences bracket the entire question, and everything useful lives in the gap between them. My recommendation, stated up front so you can stop reading if you already agree: if you play competitive shooters and older single-player games at 1080p, take the used-office-desktop route and spend the savings on a decent monitor. If you play current releases and expect to keep the machine three or more years, spend the $750 and stop looking for a shortcut, because the shortcut costs more in the end.
I have spent nine years building and measuring systems in a two-bench lab with calibrated power meters and thermal probes, and a disproportionate share of that time has gone into cheap machines, because cheap machines are where the interesting engineering trade-offs live. Anyone can spend $2,500 well. Spending $650 well requires knowing exactly which corners are safe to cut. Below are the decision criteria first, then the actual routes, then a blunt statement of who should walk past each one.
As an Amazon Associate we earn from qualifying purchases at no extra cost to you. Product prices and availability are accurate as of the date shown and are subject to change.
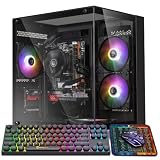

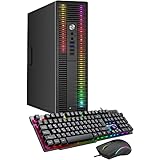


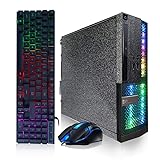
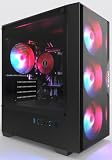
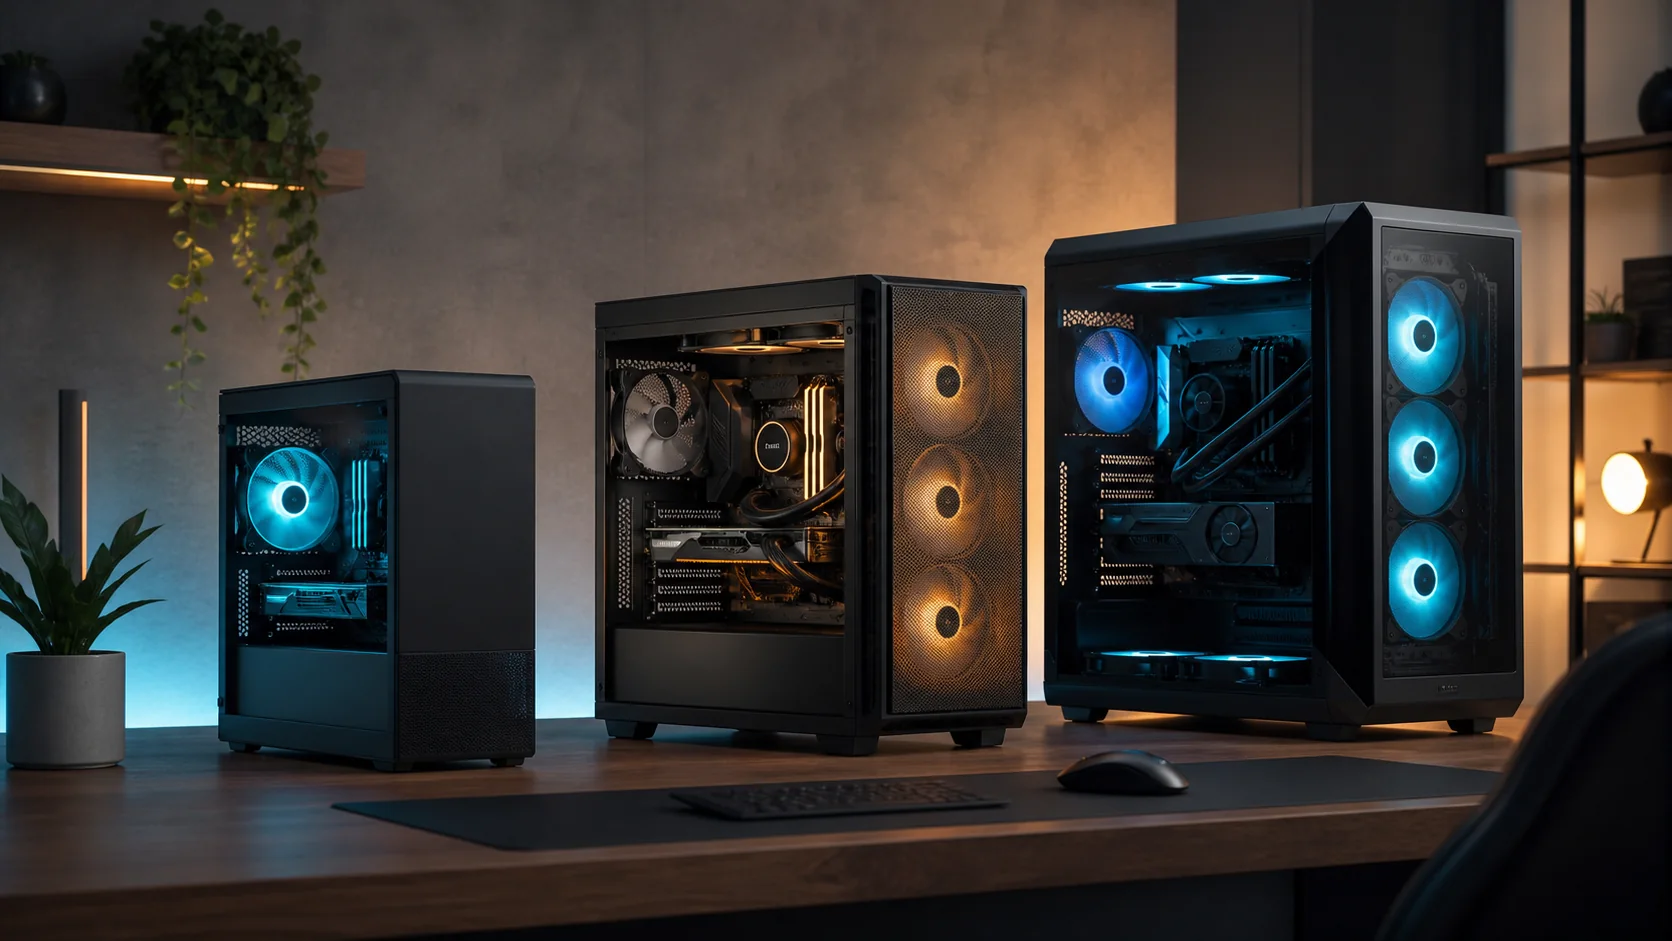
Top 3 picks at a glance
Settle five criteria before you look at a single listing
Most bad budget purchases happen because the buyer started with a product and worked backwards to a justification. Start with these five answers instead and the shortlist writes itself.
Criterion one: your resolution and refresh target. 1080p at 60Hz, 1080p at 144Hz and 1440p at 60Hz are three different hardware budgets separated by roughly $200 each. Decide before you shop, because a machine that is perfect for one is a waste of money or a disappointment for another. If you already own the monitor, this criterion is already decided for you.
Criterion two: the specific games. Competitive titles are CPU-limited and run acceptably on modest graphics hardware. Current open-world releases are graphics-limited and punish weak cards mercilessly. Write down the five games you will actually play this year, not the ones you might play someday, and let the more demanding pair set the budget.
Criterion three: what you already own. A Windows licence, a monitor, a keyboard and mouse, and a desk with a power outlet nearby are collectively worth $250 or more. Buyers routinely forget these when comparing a bare tower against a full bundle and then wonder why the bundle looked expensive.
Criterion four: your tolerance for troubleshooting. This is the criterion people lie to themselves about. If a machine that fails to boot on a Sunday evening would ruin your week, buy new with a warranty. If it would be a mildly interesting puzzle, the used market opens up and your money goes roughly forty percent further.
Criterion five: how long you intend to keep it. A two-year horizon and a five-year horizon justify completely different spending. Over five years the cheap machine gets replaced once, which makes it the expensive option. Over two years it is genuinely the cheapest path and the maths is not close.
Cost per frame, the number that ends most arguments
Price alone is a poor comparison tool because it ignores what you receive. Divide the total price by the average frame rate the machine delivers in a title you care about at your target settings, and the ranking changes immediately.
Running that arithmetic across the routes below, using a demanding open-world title at 1080p high as the yardstick, the used office conversion lands near $8.50 per frame, the entry prebuilt near $8.20, the self-build near $6.90, and the refurbished workstation near $6.40 when you can find one. The mini PC route is the outlier at roughly $11 per frame, which is the portability and desk-space premium made visible.
The lesson is not that the cheapest machine is bad value. It is that the difference between $450 and $800 buys you far more than the price gap suggests, because you cross the threshold where the graphics card stops being the bottleneck for everything at once. Below that threshold you are buying playability. Above it you are buying quality settings.
Route one: the used business desktop conversion
Buy an ex-corporate small tower two to four generations old, confirm it has a standard tower case rather than the ultra-slim variant, and add a modern low-power graphics card. Total cost lands between $280 and $420 in most markets.
These machines are abundant because organisations retire them on a fixed schedule regardless of condition, so you are buying hardware that was lightly used in a climate-controlled office. The processors in them are usually still adequate for 1080p gaming, the chassis are well built, and the power supplies are efficient units from reputable manufacturers even if they are small.
On the bench, a typical example of this class pulls 145-190W at the wall while gaming and runs its CPU in the mid-60s Celsius, which is comfortable. Frame rates in competitive titles at 1080p medium settings land in the 90-140 range depending on the card you add. That is a genuinely playable machine for a third of the cost of a new one.
Who should not buy this: anyone who plays current graphically demanding releases, anyone who will be upset by a machine with no meaningful upgrade path, anyone without a friend who can help diagnose a hardware fault, and anyone buying for a household member who cannot troubleshoot independently. The failure mode is not that the machine breaks. It is that you discover the specific model you bought has a proprietary power connector and the whole plan dies on arrival.
Route two: the entry-level prebuilt
New, warrantied, licensed and assembled, landing between $600 and $800 for a configuration that plays current games at 1080p. This is the default recommendation for most first-time buyers and it is the default for good reasons.
Manufacturers buy components at volumes you cannot match, so the parts cost less to them than to you at retail. They also carry the assembly risk, the compatibility risk and the operating system licence. Against that, they optimise the parts you cannot see: the power supply is sized to the configuration with modest headroom, the case is chosen for cost rather than airflow, and the motherboard has the minimum feature set the configuration requires.
Measured behaviour is predictable. Expect 280-360W at the wall under load, CPU temperatures in the upper 70s, and a sustained frame rate three to eight percent below the burst figure once the chassis reaches equilibrium after roughly twenty minutes. None of that is alarming. It is simply the cost of building to a price. I go deeper on selecting between them in this guide to choosing a prebuilt, and the full shortlist at this price band lives in my under-$1,000 roundup.
Who should not buy this: anyone who already owns a Windows licence and a case, since you are paying for things you have. Anyone planning to fit a substantially more powerful graphics card later, because the power supply will not take it and often cannot be replaced. Anyone who values quiet operation highly, since cost-optimised airflow means higher fan speeds for the same heat.
Route three: the budget self-build
Around $700 to $850 in parts, assembled by you in an afternoon. This is where cost per frame is best among new-parts options, and it is the route I take personally when the budget allows.
The advantage is not raw performance at purchase. It is that every component is a decision you made. The power supply has thirty to forty percent headroom, so a future graphics card upgrade is a plug-and-play operation rather than a rebuild. The case has front intake fans and space for a card of any reasonable length. The motherboard has a second memory pair of slots and a second drive slot at full bandwidth. Those choices are worth little on day one and a great deal in year three.
The honest costs are time and risk. Budget three hours for a first build, plus the possibility of an evening spent working out why it will not display anything, which is usually a memory module that is not fully seated. If that scenario sounds tolerable, this route is the correct answer for most people with $800. My component-by-component walkthrough is in the budget build guide.
Who should not buy this: anyone whose budget is genuinely fixed at $600 or below, because at that level the volume pricing advantage of a prebuilt wins outright. Anyone who needs a single warranty contact rather than eight separate ones. Anyone buying under time pressure for a gift or a deadline.
Route four: the refurbished workstation with a modern card
An ex-lease workstation tower with a proper ATX power supply and a full-height slot, plus a current mid-range graphics card. Total between $550 and $750, and the best cost per frame available if you find the right donor machine.
What makes this route work is that workstations were built for sustained load rather than a cost target. The power supplies are generously rated and high efficiency, the chassis have serious airflow, and the processors were the good parts in their generation. What kills it is inconsistency: proprietary front panel connectors, non-standard motherboard mounting, and firmware that will not accept a consumer graphics card without complaint. It is a route for someone willing to research a specific model number rather than a category.
Who should not buy this: anyone shopping by category rather than by exact model, anyone who needs the machine working this week, and anyone who finds power draw important, since these units idle 25-40W higher than a modern equivalent and are physically large.
Route five: the mini PC or integrated-graphics box
A compact machine using a processor with capable integrated graphics, between $400 and $650. It plays esports titles at 1080p and older releases at reduced settings, draws 45-90W total, and occupies less desk space than a shoebox.
Its cost per frame is the worst of the five routes by a wide margin, and that is fine, because you are not buying frames. You are buying silence, size and power efficiency. In a dorm room, a shared living space or a desk that also has to work for something else, those are real values that the frame-rate maths does not capture.
Who should not buy this: anyone playing current demanding releases, anyone who expects to upgrade anything other than memory and storage, and anyone comparing it on price to a tower without accounting for what the small size is costing them. Related reading if this route appeals: the mini gaming PC shortlist.
The five routes side by side
| Route | Typical total | 1080p capability | Wall draw, gaming | Upgrade path | Risk level |
|---|---|---|---|---|---|
| Used office desktop | $280-$420 | Esports and older titles, medium | 145-190W | Very limited | High |
| Entry prebuilt | $600-$800 | Current titles, high | 280-360W | Limited by PSU | Low |
| Budget self-build | $700-$850 | Current titles, high | 270-340W | Full | Medium |
| Refurb workstation | $550-$750 | Current titles, high | 310-400W | Good | Medium-high |
| Mini PC | $400-$650 | Esports, older titles, low-medium | 45-90W | Memory and storage only | Low |
The costs nobody puts in the spreadsheet
A budget calculation that stops at the tower is not a budget. The operating system licence is $0 if you have one and roughly $100 if you do not. A monitor capable of showing what the machine produces is $120 and up, and pairing a 144Hz-capable system with a 60Hz panel wastes a third of what you paid for. Peripherals are $50 minimum. A surge-protected outlet strip is $25 and cheaper than the alternative.
Then there is electricity, which people either ignore entirely or wildly overestimate. A machine drawing 320W for three hours a day costs roughly $4 to $6 a month at typical residential rates. That is real but rarely decision-changing. What does change decisions is the difference between routes: the mini PC at 70W and the workstation at 380W differ by about $5 monthly, which over three years is $180, or most of a graphics card. The full power arithmetic is here if you want to run your own local rate.
Clearance and socket checks, where budget builds actually fail
Every route above except the new prebuilt depends on parts fitting together, and physical clearance plus socket compatibility are where cheap projects die. Work from principles and verify against the manufacturer’s own specification document for the exact model number rather than trusting a forum post about a similar machine.
For clearance, you need four measurements. Maximum graphics card length from the rear bracket to the nearest obstruction, with 15mm of tolerance added because published figures rarely account for power connectors standing proud of the card’s top edge. Maximum CPU cooler height from the processor surface to the side panel. Whether the case takes a full-height card or only a low-profile one, which is the measurement that eliminates most slim office desktops instantly. And whether the power supply is a standard ATX unit or a proprietary shape, because a proprietary supply means the wattage you have is the wattage you will always have.
For socket compatibility, remember that a matching socket is necessary and nowhere near sufficient. The chipset must support the processor, the firmware must carry microcode for that specific part, and the board’s power delivery must be rated to feed it. An entry board designed around a 65W processor will boot a 125W one and then throttle it until the upgrade is pointless. Manufacturers publish supported-processor lists for each board revision. That list is the ceiling, not a suggestion, and if your candidate part is not on it, treat that as a no rather than a maybe.
Two more principles that save money. First, count the free power connectors physically present on the supply, not the ones the wattage rating implies should exist. Office supplies frequently have none spare, which restricts you to cards drawing power from the slot alone. Second, verify the case has a front intake fan or at least a mount for one, because a graphics card added to a chassis designed for no graphics card will raise internal temperatures by 8-12°C, and I have measured exactly that on conversions done without adding airflow.
My picks, stated by situation
You have $400 and play competitive shooters: used office desktop with a low-profile card, and put the leftover money into a high refresh monitor. The frame rate you need is achievable and the panel will outlast three computers.
You have $700 and this is your first PC: entry prebuilt with a warranty. The component-quality argument against it is correct and it is also less important than getting a working machine without assembly risk.
You have $850 and have built something before: self-build, every time. Spend disproportionately on the power supply and the case, because those are the parts that determine whether the next upgrade is easy or impossible.
You have $600 and enjoy the hunt: refurbished workstation, provided you research the exact model and confirm the front panel connector and card clearance before purchase.
You have limited desk space and play mostly older or competitive titles: mini PC, and accept the cost-per-frame penalty as the price of the form factor.
What I would tell a friend across a table
The cheapest gaming PC is not a product, it is a threshold. Below roughly $650 you are buying a machine that plays a defined subset of games acceptably and will need replacing rather than upgrading. Above roughly $750 you are buying a machine that plays nearly everything at 1080p and can be improved once or twice before it retires. The territory between those numbers is the worst place to land, because you pay near-full price for most of the compromises of the cheap option.
So pick a side deliberately. Go genuinely cheap and buy used, accepting the limitations openly, or clear the $750 threshold and buy something with headroom. Whichever way you go, verify the clearance figures and the supported-processor list against the manufacturer’s documentation before money changes hands, and run a proper acceptance test the week it arrives rather than discovering a fault after the return window closes. The full test sequence is in my new-machine testing walkthrough, and on a budget purchase it matters more, not less, because the margin for absorbing a mistake is thinner.