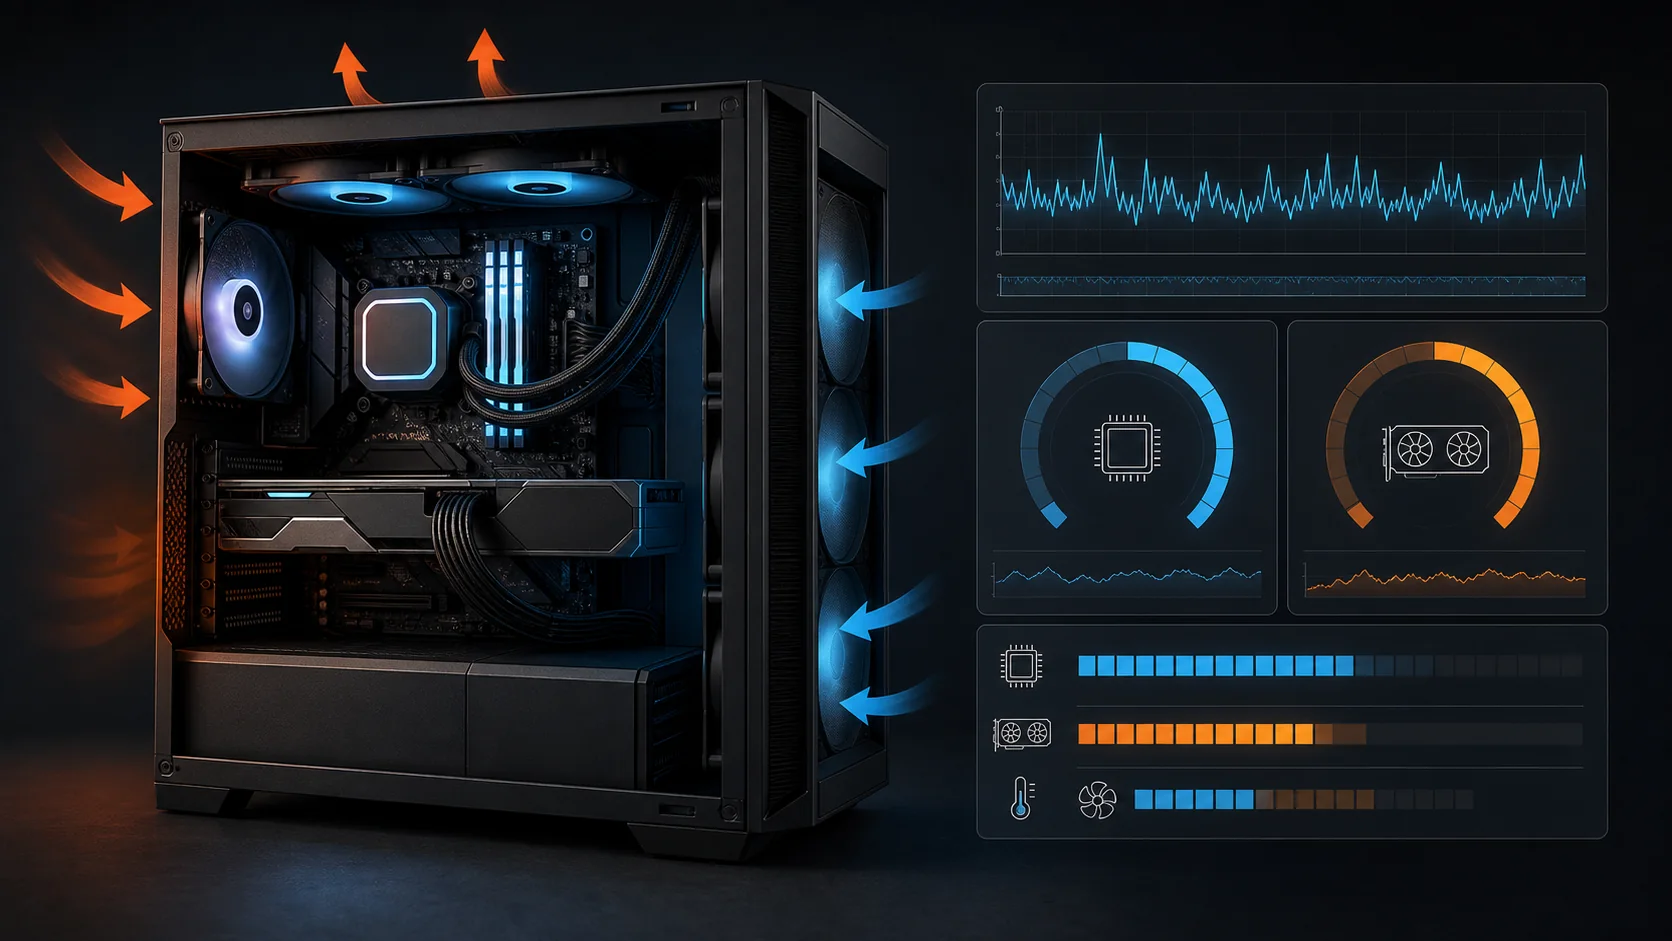
Benchmark a new gaming PC with Cinebench for CPU performance and 3DMark for overall GPU-focused gaming performance, both of which offer free versions sufficient for a baseline check. Run each benchmark two or three times to check for consistency, then compare your results against publicly available scores for the exact same CPU and GPU combination to judge whether your specific system is performing normally.
Do this early, within your first day or two of ownership, with minimal other background software running, so your baseline reflects the hardware itself rather than being skewed by unrelated processes competing for resources.
As an Amazon Associate we earn from qualifying purchases at no extra cost to you. Product prices and availability are accurate as of the date shown and are subject to change.



Top 3 picks at a glance
Quick answer
Install Cinebench and run its CPU benchmark, then install 3DMark and run its free-tier gaming benchmark. Run each two to three times for consistency, then search for published results from the same CPU and GPU combination to see if your numbers are in a reasonable range. A result consistently and significantly below what similar systems achieve is worth investigating further.
| Tool | Measures | Cost |
|---|---|---|
| Cinebench | CPU rendering performance, single and multi-core | Free |
| 3DMark | Overall gaming-relevant GPU performance | Free tier + paid tier |
Why benchmark instead of just playing games
Playing your usual games gives you a real-world feel for performance, but it doesn’t give you an objective number to compare against other systems with the same hardware, and frame rate in a specific game depends on many variables (in-game settings, the specific scene, other players in a multiplayer match) that make it hard to isolate whether your hardware itself is performing normally. A standardized benchmark controls for those variables, producing a consistent, comparable score.
This matters most in the early ownership window, when you’re specifically trying to determine whether the PC as shipped is functioning correctly, separate from any personal preference about which games you enjoy or how you’ve configured your settings. A benchmark result significantly below what your exact hardware combination normally achieves is a concrete, comparable signal that something may be wrong, in a way that “this game feels a bit slow” isn’t.
Running Cinebench for CPU performance
Download and install Cinebench, then run its standard benchmark test, which renders a complex scene using your CPU and produces both a multi-core score (using all available CPU cores and threads) and a single-core score (using just one). Let the test run to completion without other demanding software running simultaneously, since background CPU usage from other programs will affect your result.
Run it two to three times in a row, waiting a minute or two between runs to let the CPU return closer to idle temperature, and check that your results are reasonably consistent with each other rather than wildly different — significant run-to-run variance can itself be a sign of an underlying stability or thermal issue worth investigating further.
Compare your multi-core and single-core scores against Cinebench’s own published results database or widely available comparison charts for your exact CPU model, keeping in mind that some variance between individual chips and system configurations (RAM speed, cooling) is normal and expected even among identical CPU models.
As a practical benchmark for judging how much run-to-run variance is normal versus concerning: three consecutive Cinebench runs on a healthy system typically land within a few percentage points of each other, close enough that you could reasonably average them and treat the average as your baseline. If instead you see one run noticeably lower than the other two — a larger gap than ordinary thermal or background-process variance would explain — that outlier run is worth treating as a signal rather than discarding as noise, since it can indicate an intermittent stability issue that a single clean run might mask.
Running 3DMark for GPU performance
Install 3DMark and run one of its standard gaming-relevant benchmark tests available in the free tier, which stresses your GPU (and to a lesser extent CPU) through rendered 3D scenes designed to reflect real gaming workloads. The free tier includes enough test coverage for a baseline comparison for most people; the paid tier adds additional specialized tests and more detailed historical result tracking.
As with Cinebench, run the test a few times for consistency and compare your score against 3DMark’s own online results database, which lets you filter by similar hardware configurations to see roughly where your system should land relative to others with the same or similar GPU.
Pay attention to which specific GPU is being used during the test if your system has both integrated and discrete graphics — confirm through a monitoring tool that the discrete GPU was actually active during the benchmark, since a result run accidentally on integrated graphics will look dramatically lower and isn’t a fair reflection of your actual gaming hardware.
Interpreting your results
There’s no single “correct” benchmark number for a given CPU or GPU — normal variance exists between individual chips, cooling solutions, RAM configuration, and even ambient room temperature at the time of testing. What you’re looking for is whether your result falls within a reasonable range of other systems with the same hardware, not an exact match to any specific published number.
A result that’s dramatically lower — meaningfully below the low end of what similar systems commonly achieve, not just a few percentage points off — is the signal worth investigating. Check the most common explanations first: RAM running below its rated speed (verify with CPU-Z), the wrong GPU being used for the test, or a restrictive power plan limiting performance, before assuming a defective component.
A workable rule of thumb for calibrating how much of a gap actually matters: treat a result within roughly 5-10% of the typical published range for your exact hardware as normal system-to-system variance, not a red flag. Treat a result that falls short by significantly more than that, especially by 15-20% or more below the typical low end even after checking RAM speed and GPU assignment, as a genuine finding worth documenting and potentially reporting, rather than something to second-guess indefinitely against ever-more-specific comparison numbers.
If your results check out as normal, save a screenshot or record of the scores for your own reference — useful both as a baseline to compare against if you suspect performance has degraded later, and as documentation if you do end up needing to report a genuine issue during your return window.
Benchmarking within your return window
Run your initial benchmarks as early as possible after setup, since a below-normal result discovered early leaves you the most time to investigate, get a second opinion, or pursue a return or exchange if the issue turns out to be genuine hardware. Waiting until close to the end of a 30-day window to run your first benchmark leaves little room to act on what you find.
If your first benchmark run shows unexpected results, don’t assume it’s a one-off — rerun the test, check the common explanations covered above, and if the low result persists across multiple runs and checks, treat it as a real finding worth documenting and potentially reporting to the seller promptly.
Running your first benchmarks
- Install Cinebench and run its standard benchmark two to three times, checking for consistent results.
- Install 3DMark and run a free-tier gaming benchmark two to three times.
- Confirm the discrete GPU (not integrated graphics) was active during the 3DMark run, using a monitoring tool if needed.
- Search each tool’s online results database for your exact CPU and GPU combination.
- Compare your scores against the typical range for similar systems, treating a gap under roughly 5-10% as normal variance.
- If results are significantly low, check RAM speed, active GPU, and power plan before assuming a hardware fault.
- Save your results as a baseline reference, and document clearly if you find a genuine discrepancy worth reporting.
Benchmarking with a laptop versus a desktop prebuilt
The comparison approach described here works for both desktop and laptop gaming PCs, but the normal variance range is generally wider for laptops, since laptop CPUs and GPUs operate under tighter thermal and power constraints that vary more between individual chassis designs than desktop components typically do. A laptop benchmark result within roughly 10-15% of the published range for its exact CPU and GPU combination is a more reasonable normal-variance threshold than the tighter 5-10% range that applies more comfortably to desktop systems with more generous cooling headroom.
For a laptop specifically, it’s worth benchmarking twice under two different conditions: once on the manufacturer’s default performance preset, and once on its highest available performance mode, since some laptops ship in a more conservative default configuration that meaningfully understates the hardware’s actual capability. A result that looks low under the default preset but falls into the expected range once the performance mode is maximized isn’t a hardware problem at all — it’s simply a software configuration difference worth knowing about before assuming something is wrong.
When benchmarks don’t tell the full story
Synthetic benchmarks measure a specific, standardized workload that doesn’t perfectly represent every real game’s engine and settings — a system can score normally on Cinebench and 3DMark while still having an issue that only shows up in a specific game’s particular demands. Pairing benchmark results with actual gameplay testing in your own games gives a more complete picture than synthetic scores alone.
Benchmarks run once at setup also can’t catch issues that only develop over time, like thermal paste that degrades gradually or a component that starts failing after weeks of use rather than being wrong from day one — periodic re-benchmarking, especially if you notice a performance change, catches this category of issue that a single initial test can’t.
Saving your initial benchmark results in a dedicated note, rather than just as a fleeting screenshot you might lose track of, pays off specifically for this reason. If performance feels different six months later, having your original Cinebench and 3DMark numbers on hand to re-run and compare against gives you an objective before-and-after comparison on your own specific machine, which is a more useful reference than comparing against generic published numbers for your hardware model at that later point.
Re-benchmarking after any driver or BIOS update
A GPU driver update or a motherboard BIOS update can occasionally shift benchmark scores in either direction — sometimes improving performance through genuine optimization, occasionally regressing it due to a bug in a specific driver version. Re-running your saved Cinebench and 3DMark tests after a significant update and comparing against your original baseline is a quick way to confirm an update helped rather than hurt, rather than assuming every update is automatically an improvement.
Troubleshooting
Symptom: Cinebench multi-core score is well below published results for your CPU. Cause: could be thermal throttling during the test, a restrictive power plan, or background processes competing for CPU resources. Fix: check temperatures during the run with HWiNFO64, confirm your power plan isn’t set to a restrictive mode, and close unnecessary background software before retesting.
Symptom: 3DMark score is dramatically lower than expected for your GPU. Cause: the benchmark may have run on integrated graphics instead of your discrete GPU. Fix: check your GPU assignment settings and confirm the discrete GPU was active using a monitoring tool during the test.
Symptom: Benchmark scores vary significantly between consecutive runs. Cause: inconsistent thermal state between runs, background processes starting or stopping, or in rarer cases, an underlying stability issue. Fix: ensure consistent conditions (closed background apps, similar starting temperature) between runs, and treat persistent large variance as worth further investigation.
Symptom: Benchmark won’t complete and crashes partway through. Cause: this can indicate an actual stability issue with the CPU, GPU, or power delivery. Fix: document the crash circumstances and proceed to a dedicated stress test to confirm, then report to the seller if the instability is reproducible.
Symptom: One of three consecutive Cinebench runs is noticeably lower than the other two, even though the low run didn’t crash. Cause: this pattern is consistent with intermittent instability or thermal inconsistency rather than a fully broken component. Fix: run several additional passes to see how often the low result recurs, and treat a repeating pattern as worth documenting rather than dismissing the outlier as random noise.
Treating benchmarking as a quick habit, not a chore
The full benchmarking routine described here takes well under an hour combined, which is a small time investment relative to the confidence it provides about a purchase that likely cost a substantial amount of money. Treating it as a standard part of unboxing a new system, the same way you’d check for physical shipping damage, keeps it from feeling like an optional extra step that’s easy to skip.
Frequently asked questions
Do I need to buy 3DMark to benchmark my new PC?
No, 3DMark’s free tier includes enough benchmark tests to get a useful comparative score for most people. The paid version unlocks additional tests and features, which matter more for enthusiasts doing detailed comparisons than for a basic new-PC check.
How do I know if my benchmark score is actually good or bad?
Compare your score against publicly available results for the exact same CPU and GPU combination, available through the benchmark tool’s own online results database in most cases. A result within a reasonable range of similar systems is normal; a result significantly below that range is worth investigating.
Should I benchmark before or after installing all my games and software?
Benchmark early, ideally close to first setup, with minimal other background software running, so your baseline result reflects the hardware itself rather than being affected by background processes competing for resources.
Why did my benchmark score change between two runs on the same PC?
Some run-to-run variance is normal, caused by factors like background processes, thermal state at the start of the test, or minor differences in boost clock behavior. Run the benchmark two or three times and look at the consistency of the results rather than trusting a single run alone.
Does a low benchmark score always mean something is wrong with the PC?
Not always — check for simpler explanations first, like RAM running below its rated speed, the wrong GPU being used if your system has both integrated and discrete graphics, or background software competing for resources, before assuming a hardware fault.
Marcus Reilly runs the same core benchmark sequence on review units in his two-bench test lab with calibrated power meters and thermal probes before publishing any performance figures. For the step before benchmarking, see what specs matter most in a gaming PC, and for what to do if results look off, how to check if a prebuilt has bottlenecks. If you’re comparing your results against a specific configuration, best gaming PC with RTX 5070 and best gaming PC with RTX 5080 include performance context for those builds.