A custom VR gaming PC should be planned around the headset you intend to use, the connection method, and the frame-time target—not simply around a generic “VR ready” label. A system that feels smooth on a moderate-resolution headset at 90 Hz may struggle when asked to drive a higher-resolution display, a 120 Hz mode, supersampling, or a demanding simulator. The most reliable approach is to define the workload first, reserve budget for the graphics card without neglecting the CPU, and verify the complete connection path before buying parts.
This guide explains how to balance a PCVR system by headset class and budget without promising untested frame rates. Use the tiers as parts-allocation logic, then confirm requirements for your specific headset and games.
Top 3 picks at a glance
Start with frame time, not average FPS
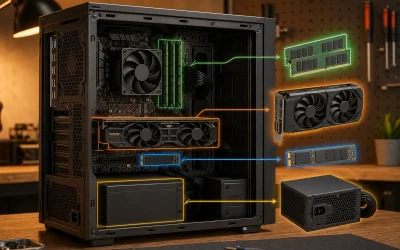
The parts below cover the tiers described above, from an entry VR build to a headset-agnostic high-refresh setup.
As an Amazon Associate we earn from qualifying purchases at no extra cost to you. Product prices and availability are accurate as of the date shown and are subject to change.


VR performance is especially sensitive to inconsistent delivery. At 90 Hz, the PC has about 11.1 milliseconds to prepare each frame. At 120 Hz, that window falls to about 8.3 milliseconds. An average frame-rate number can hide spikes that miss those deadlines, causing visible stutter or forcing the runtime to synthesize frames through reprojection or motion smoothing.
The GPU normally carries the largest load because it must render a high-resolution view for the headset, often at a render resolution above the panel’s nominal specification to compensate for lens distortion. The CPU still matters: simulation, draw calls, tracking, physics, background software, and wireless encoding can create CPU-side spikes. For a custom build, favor a modern platform with strong per-core performance and enough cores for the game, runtime, voice chat, and monitoring tools, but avoid cutting the GPU tier merely to buy the most expensive CPU.
Check the requirements of the actual software rather than treating an old platform minimum as a target. Valve’s official SteamVR page lists baseline system and display-connection requirements, but individual games and modern headsets can demand substantially more. Meta also publishes current hardware and software requirements for its development and Link environment. Review the headset manufacturer’s compatibility page immediately before purchase because supported GPUs, operating systems, ports, and runtime behavior can change.
Choose the headset and connection before the parts
Native DisplayPort headsets
A tethered headset using DisplayPort receives a native display signal from the graphics card. Confirm that the chosen GPU has the exact required DisplayPort version and a free physical port after accounting for desktop monitors. The headset may also need one or more USB ports for tracking, audio, or power. Do not assume a motherboard video output will work: on most gaming desktops, the headset display cable must connect directly to the discrete GPU.
Native DisplayPort avoids the video-compression step used by many standalone headsets connected to a PC. That can make it attractive for high-detail simulators and seated play. Cable routing, connector reach, and the location of the PC still matter, however. Extension cables and adapters can introduce link instability, so use only combinations supported by the headset vendor.
USB Link headsets
Some standalone headsets receive compressed PCVR video over USB. In this case the GPU renders the scene and encodes a video stream, while the headset decodes it. A quality USB port and cable are part of the performance chain. Check whether the headset expects USB-C, how much power it can draw, and whether the selected motherboard or case provides a suitable high-speed port. A connector with the right shape does not automatically guarantee the required data mode or charging behavior.
Wireless PCVR
Wireless play adds the network to the rendering pipeline. A powerful PC cannot compensate for congested Wi-Fi, a distant access point, or a PC that is also connected wirelessly through a weak link. The preferred layout is usually a wired Ethernet connection from the PC to a nearby router or access point, with the headset on a clean, appropriate Wi-Fi band. Keep the access point in or near the play space, minimize walls, and avoid sharing the same channel with heavy household traffic where possible.
Wireless encoding quality and latency depend on the headset, runtime, codec support, GPU encoder, router, and local radio conditions. Treat a dedicated access point as part of the build budget when wireless PCVR is a priority. Do not spend the entire budget on the graphics card and leave the connection dependent on an old ISP router several rooms away.
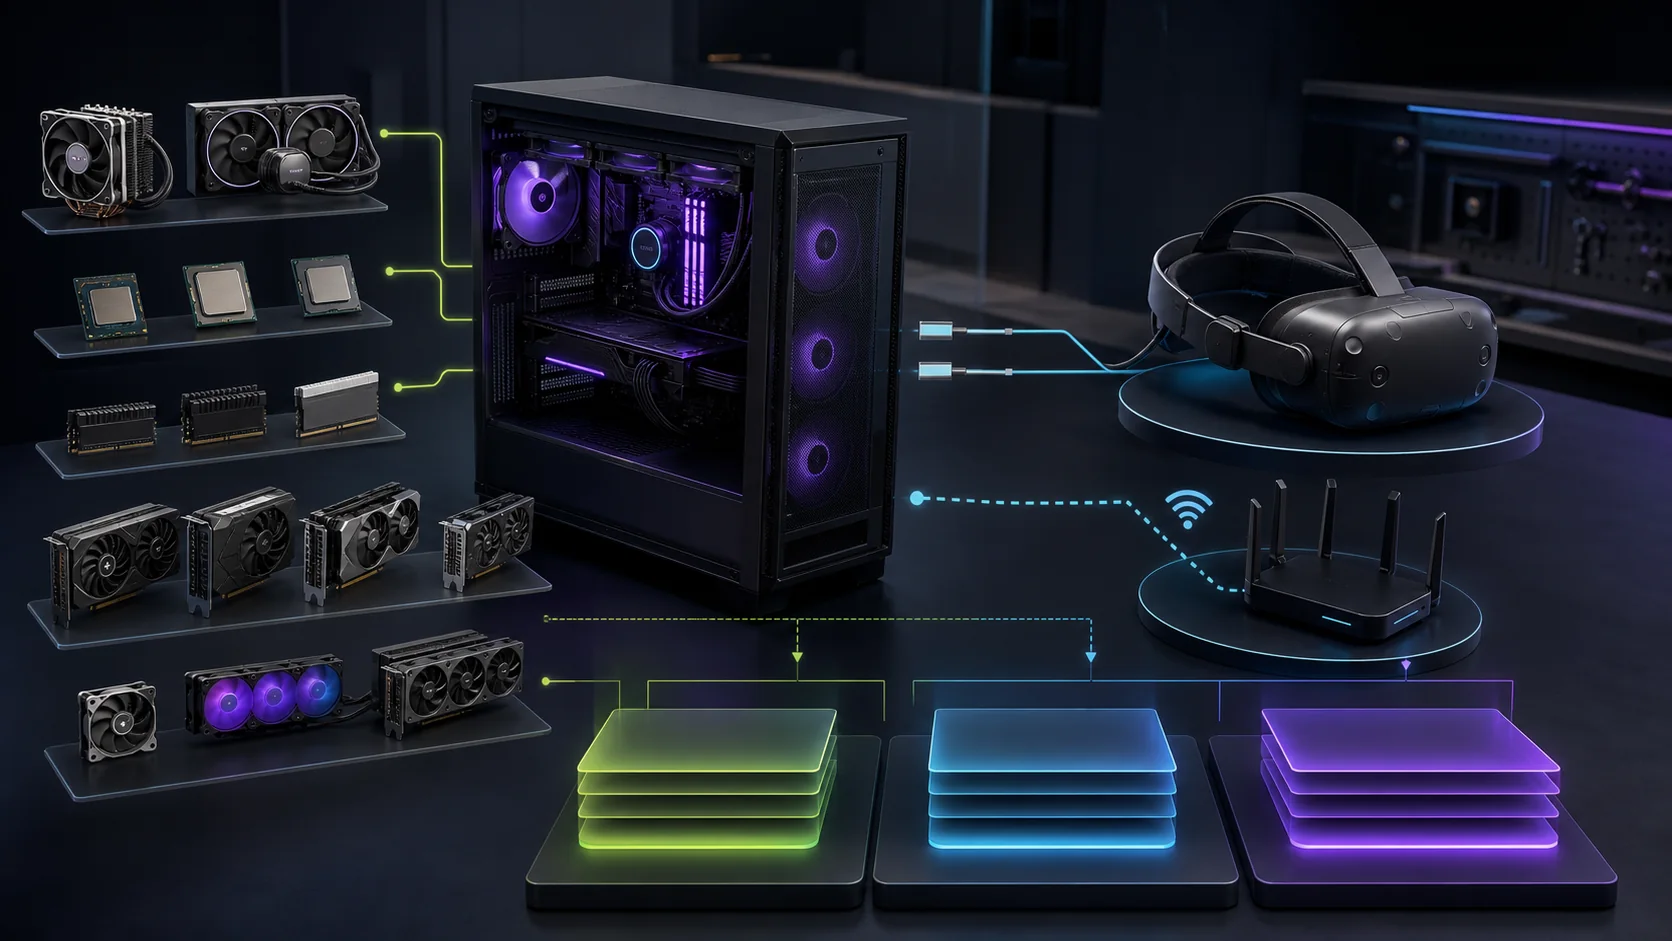
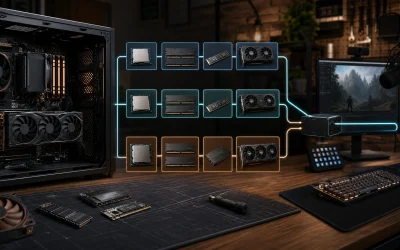
Custom VR PC tiers by budget and headset class
Prices and product availability move too quickly for fixed shopping totals to remain accurate. These tiers therefore describe where to allocate money rather than naming a supposedly universal parts list.
Value tier: mainstream headset, moderate settings
This tier is for entry-level PCVR, rhythm games, social VR, and less demanding titles at sensible render scales. Put the largest share of the budget into a current supported midrange GPU. Pair it with a recent six-core or better CPU, 16 GB as an absolute practical floor, and preferably 32 GB if the budget permits. A 1 TB NVMe SSD prevents a small game library from immediately consuming the drive, while a reputable power supply sized for the GPU leaves room for transient loads and future storage.
Value does not mean choosing the cheapest motherboard. Confirm the required USB connections, an Ethernet port suitable for the planned network, enough fan headers, and a usable upgrade path. A well-ventilated case and competent tower cooler are generally a better investment than decorative components that do not improve sustained performance.
Balanced tier: higher resolution or high refresh
For a higher-resolution headset, 120 Hz modes, demanding action games, or wireless streaming at better visual quality, move up primarily in GPU capability and VRAM capacity. Use a strong modern gaming CPU that can maintain consistent frame delivery, 32 GB of dual-channel memory, and at least a 1–2 TB NVMe SSD. This is the sensible target for buyers who want broad PCVR compatibility without building around the most extreme headset available.
Choose the power supply from the GPU manufacturer’s guidance and the actual connector requirements of the selected card. Leave capacity for USB devices, drives, fans, and normal transient behavior, but do not equate an unnecessarily oversized wattage label with quality. Platform protections, efficiency, warranty, cable design, and independent electrical testing matter more.
Enthusiast tier: premium headset, simulators, or heavy supersampling
Premium PCVR can combine high panel resolution, wide field of view, high refresh, complex simulation, and aggressive render scaling. In this tier, prioritize the fastest appropriate GPU that the budget, case, and power delivery can support. Pair it with a top gaming-class CPU rather than an expensive workstation processor selected only for core count. Use 32 GB of memory for a dedicated gaming system; 64 GB becomes reasonable for heavily modded simulators, content creation, or other measured workloads that actually exceed 32 GB.
Plan the physical build carefully. High-end graphics cards can be long, thick, and heavy. Verify case clearance with front fans or radiators installed, motherboard-slot access, power-cable bend clearance, and anti-sag support. Select cooling that can hold normal boost behavior without excessive noise during long headset sessions. More cooling hardware is not automatically better if the case airflow path is obstructed.
Parts logic that applies at every tier
Graphics card and VRAM
Compare GPUs using current tests for the games, headset resolution, and runtime you plan to use. Flat-screen 1080p benchmarks are a poor substitute for PCVR evidence. VRAM demand rises with resolution, texture quality, mods, and supersampling; insufficient capacity can cause severe frame-time spikes even when average utilization looks acceptable. At the same time, buying memory capacity without adequate GPU processing power does not guarantee smooth VR.
Processor and memory
Favor consistent gaming performance and a stable platform. Install memory as a matched kit in the recommended motherboard slots, then enable the supported memory profile and test stability. Unstable overclocks are particularly disruptive in VR because a crash can leave the user inside a frozen or black display. Start at validated settings before attempting tuning.
Storage
An NVMe SSD improves installation, loading, and asset-streaming behavior compared with a hard drive, although it cannot repair a GPU or CPU bottleneck. Keep adequate free space for shader caches, updates, recordings, and temporary files. If you capture VR gameplay, a separate high-capacity drive can keep recordings from competing with the game for space.
Case, cooling, and power
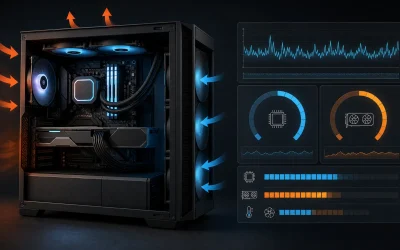
VR sessions can maintain a heavy load for extended periods. Use a case with unobstructed intake, a clear exhaust path, dust filtration that is easy to clean, and fans positioned for steady airflow. Confirm cooler height, radiator support, GPU clearance, and power-connector space from manufacturer drawings—not from the case’s external dimensions alone.
Ports and network checklist
- Confirm the headset’s exact DisplayPort, HDMI, USB-A, or USB-C requirements.
- Reserve a direct GPU display output for a native tethered headset.
- Check the speed and power capability of the intended USB port, not just its connector shape.
- Leave enough ports for tracking hardware, controllers, audio, and service tools.
- For wireless PCVR, connect the PC to the router or access point by Ethernet where practical.
- Place the wireless access point near the play area and assess local channel congestion.
- Verify that the power supply has the correct native GPU connectors and that the case permits safe cable routing.
Build and validation procedure
Assemble and validate the PC as a normal desktop before adding the headset. Update the motherboard firmware only when necessary and follow the vendor’s documented procedure. Install chipset, GPU, network, and audio drivers from their official sources. Confirm that memory capacity, channel configuration, storage, fans, and temperatures are reported correctly.
Run a memory test, a CPU stability workload, and a sustained GPU workload separately before testing them together. Watch temperatures, clock behavior, fan speed, system errors, and power stability. The goal is not to chase a record score; it is to establish that the system can sustain load without crashes or thermal throttling.
Next, install the official headset software and SteamVR if required. Begin at default render scale and a standard refresh rate. Verify tracking, audio, controllers, boundary setup, and cable or network stability. Test a familiar application while monitoring both CPU and GPU frame-time graphs. Increase refresh rate, resolution, or visual settings one change at a time so that any new stutter has an identifiable cause.
For wireless testing, compare performance close to the access point and during normal household network use. For a wired headset, gently check cable movement and every connector without placing strain on the GPU port. Record stable settings before experimenting with undervolting, memory tuning, or overclocking.
When a prebuilt PC makes more sense
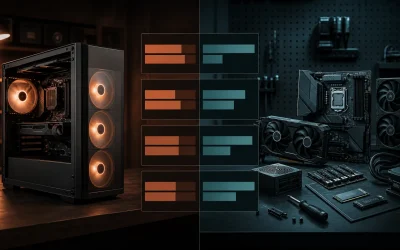
A custom system offers control over the motherboard, cooling, power supply, ports, and upgrade path. A prebuilt can still be the better choice when you need one warranty, do not want to assemble the PC, or find a complete configuration priced below equivalent retail parts. Compare disclosed component models rather than accepting a “VR ready” badge. Our best VR-ready gaming PC guide is the appropriate starting point if you prefer a prebuilt alternative.
Frequently asked questions
How much should I spend on the GPU for a VR build?
There is no universal percentage because headset resolution and game type change the balance. In most gaming-focused PCVR builds, the GPU should receive the largest single share of the parts budget. Choose the headset and demanding games first, then compare current, relevant tests before deciding the GPU tier.
Is 16 GB of RAM enough for PCVR?
It can be enough for lighter games on a clean system, but 32 GB is the more comfortable target for a new balanced build. It provides room for the VR runtime, browser, voice chat, monitoring, and modern games without relying as heavily on the page file. Buy a matched kit rather than mixing unrelated modules.
Do I need Wi-Fi 6E or Wi-Fi 7 for wireless VR?
Not automatically. A clean, nearby connection and a wired Ethernet path from PC to access point often matter more than the newest label. Use a standard supported by the headset, account for local interference, and avoid paying for capabilities the headset cannot use.
Can I connect a VR headset to the motherboard video port?
A native display headset normally needs a port on the discrete graphics card. A motherboard display output may be connected to integrated graphics and may not carry frames rendered by the gaming GPU. Follow the headset and PC platform documentation rather than relying on connector appearance.
Should I overclock a new VR gaming PC?
Validate the system at supported settings first. VR benefits more from stable frame times than from a small benchmark gain accompanied by crashes, thermal spikes, or USB instability. If you tune later, change one variable at a time and repeat the full stability and headset validation process.
What is the most important final check before ordering?
Verify the complete chain: headset requirements, GPU support, display or USB connection, motherboard ports, case clearance, power connectors, network layout, and the requirements of your most demanding game. A compatible parts list is only successful when every link in that chain works together.