A custom streaming PC should be designed around two simultaneous workloads: rendering a game smoothly and producing a stable video stream without dropped frames, audio glitches, or storage bottlenecks. That does not mean buying the most expensive processor and graphics card available. It means choosing a sensible encoder path, leaving enough CPU and memory headroom, and validating the finished system under the same conditions you plan to broadcast.
This guide covers single-PC DIY builds for creators who game and stream from one machine. The budget tiers are frameworks rather than fixed shopping lists because component prices, platform support, and local availability change. Start with your games, target resolution, streaming platform, and upgrade horizon; then select compatible parts that meet those requirements.
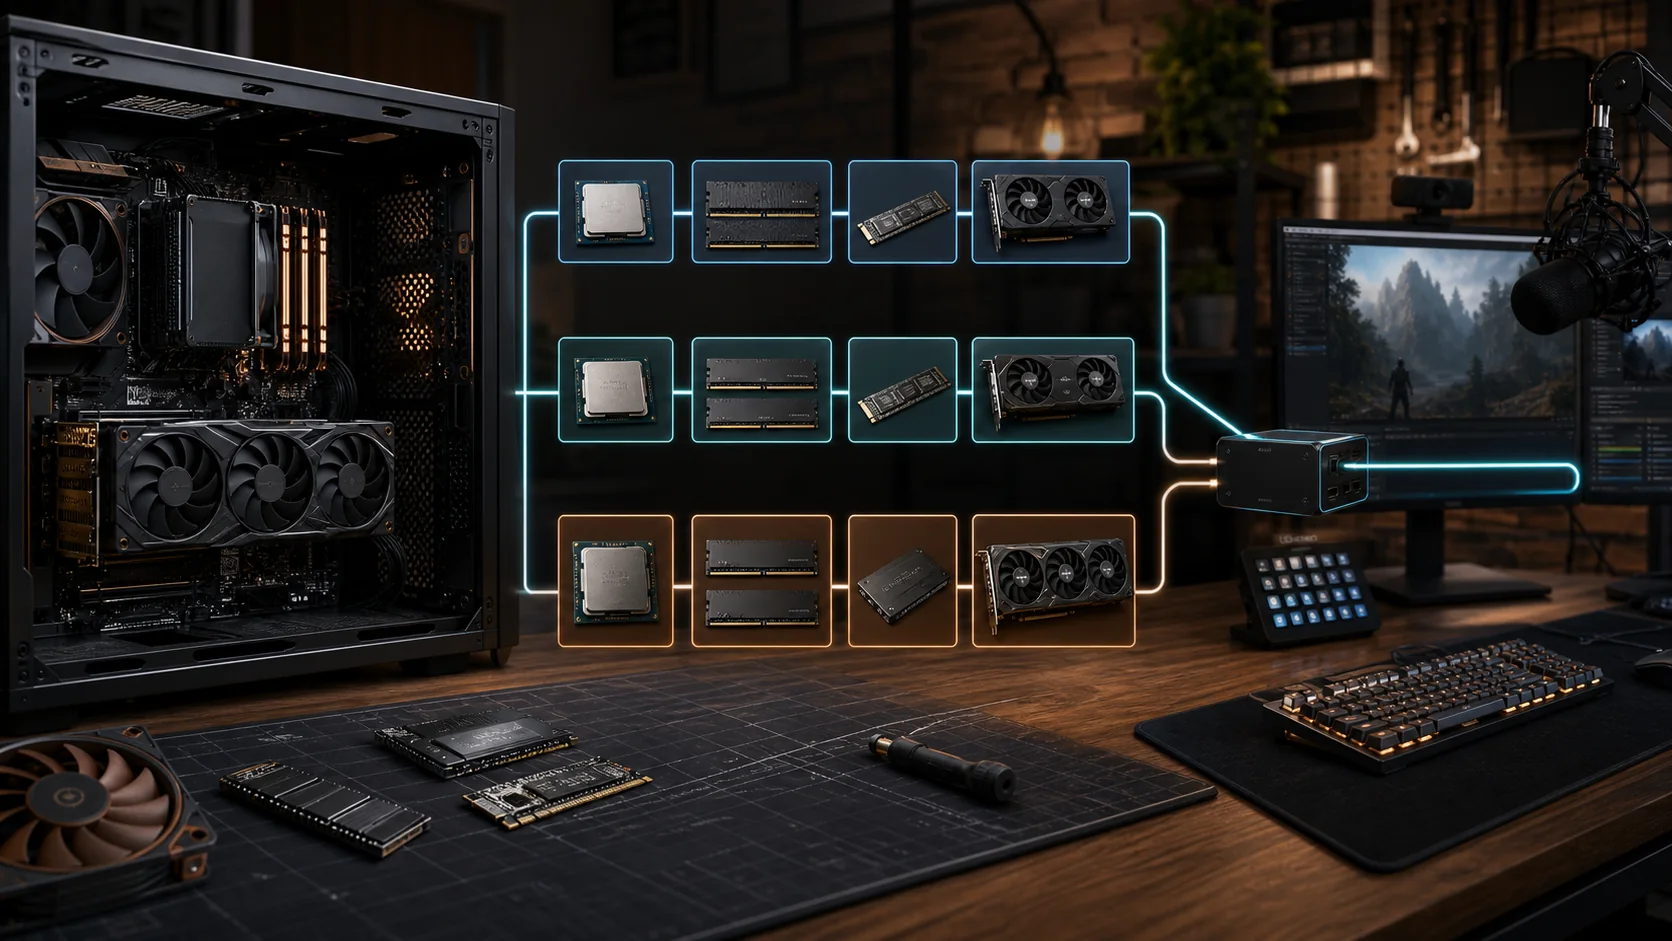
Top 3 picks at a glance
Choose the encoder before choosing the parts
These are the parts that match the three budget tiers above, chosen for encoder headroom rather than raw gaming frame rate.
As an Amazon Associate we earn from qualifying purchases at no extra cost to you. Product prices and availability are accurate as of the date shown and are subject to change.


The encoder decision changes where the streaming workload runs. A modern GPU hardware encoder handles video compression on dedicated hardware, usually with less effect on game performance than CPU-based x264 encoding. OBS generally recommends hardware encoding for performance, while noting that quality and feature support vary by encoder generation. Its official hardware encoding guide covers NVENC, AMD AMF, Intel Quick Sync, and platform-specific options.
Hardware encoding is the practical default for most single-PC builds. It lets the CPU concentrate on the game, OBS scene logic, browser sources, alerts, chat tools, and audio processing. If you select an NVIDIA GPU, consult NVIDIA’s official NVENC OBS broadcasting guide for current encoder settings and supported features. Treat vendor recommendations as a starting point, then test against the requirements of your streaming service.
CPU-based x264 can still make sense for a creator with a high-core-count processor, a light game workload, or a specific production requirement. It is less forgiving in a gaming-and-streaming machine because the game and encoder can compete for CPU time. Do not choose x264 merely because a processor has many cores. Confirm that the games you play leave enough consistent headroom during their busiest scenes.
Three practical DIY budget tiers
These tiers describe how to allocate a budget, not exact model recommendations. Check motherboard firmware support, memory compatibility, power requirements, case clearance, and cooler mounting before purchasing anything.
Value tier: efficient 1080p streaming
A value build should prioritize a current six-core or better gaming CPU, a GPU with a supported hardware encoder, 32GB of memory, and a 1TB NVMe SSD. This is the sensible floor for a new multipurpose streaming machine. Six capable CPU cores can be enough when the GPU handles encoding, but background applications and CPU-heavy games can still create contention. Avoid pairing an entry-level processor with excessive browser sources, aggressive noise processing, and numerous launchers running in the background.
Spend on the GPU according to the games and display resolution, not the stream output alone. Streaming at 1080p does not make a weak GPU suitable for a demanding game rendered at 1440p. Choose a power supply with the correct native connectors and reasonable capacity for the complete system. A basic tower cooler and a case with an unobstructed front intake are usually better uses of limited funds than decorative lighting.
Balanced tier: high-refresh gaming with production headroom
The balanced tier is appropriate for creators who play at 1440p, use layered scenes, record locally while live, or edit clips on the same computer. Target a strong current-generation gaming CPU with at least eight capable cores, a GPU tier suitable for the actual game resolution, 32GB of well-supported memory, and 2TB of fast primary storage.
This tier should also improve the parts that protect consistency: a motherboard with adequate rear USB connectivity, a quality power supply, a quiet CPU cooler, and a case with controlled airflow. Streaming setups accumulate USB devices quickly. A camera, microphone interface, capture device, control pad, lighting controller, and external storage can expose weak USB planning even when the CPU and GPU are fast.
Production tier: demanding games, recording, and editing
A production-focused build is for creators who stream demanding games, record high-quality local footage, edit regularly, or run complex audio and video tools. Use a higher-core-count CPU only when the workflow can use it; do not sacrifice too much game performance for cores that remain idle. Pair it with a GPU that has sufficient performance and video memory for the target game settings, encoder features, and any GPU-accelerated creative applications.
Consider 64GB of memory when editing large projects, running virtual instruments, using many browser sources, or keeping several production applications open. Separate storage roles are helpful here: a primary NVMe drive for the operating system, applications, and active games, plus a second SSD for recordings and project media. Separation does not automatically increase frame rates, but it simplifies capacity management and reduces the chance that a nearly full system drive interrupts a recording workflow.
CPU and platform guidance
Judge a CPU by game performance, sustained multicore behavior, efficiency, motherboard cost, and upgrade options. A hardware-encoded stream does not eliminate CPU demand. OBS, scene transitions, browser sources, chat moderation, audio filters, and the game still use processor time. Competitive games may be sensitive to single-thread performance, while simulation, strategy, and heavily modded titles can stress several cores.
Choose the motherboard as part of the platform rather than as an afterthought. Verify that its firmware supports the exact processor, the memory kit appears on a compatibility list where possible, and the board has enough M.2 slots, fan headers, USB ports, and expansion clearance. If you use a discrete capture card, confirm that installing it will not disable a needed M.2 slot or reduce the main graphics slot in an undesirable way.
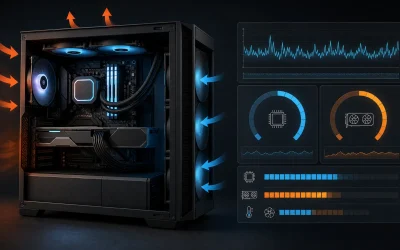
Cooling should keep clock behavior stable without putting fan noise into the microphone. A correctly mounted air cooler is sufficient for many value and balanced builds. Higher-power processors may benefit from a larger air cooler or liquid cooler, but radiator size and case airflow must be planned together. More cooling hardware is not a substitute for sensible power settings and clean cable routing.
Memory and storage planning
For a new streaming build, 32GB of RAM provides useful breathing room over 16GB. It accommodates a modern game, OBS, browser tabs, launchers, chat, and creator utilities without immediately depending on the page file. Buy a matched kit rather than combining unrelated modules. Enable the supported memory profile only after the machine is stable at default settings, then repeat memory and streaming tests.
Capacity matters as much as SSD peak speed. Games, temporary recordings, replay buffers, and editing caches grow quickly. Keep free space on the recording destination and confirm that its sustained write behavior is adequate for your recording settings. Record to MKV or another resilient format recommended by your software when appropriate, then remux for editing or delivery. A sudden crash is less likely to destroy an entire session when the recording container is chosen carefully.
Backups are separate from working storage. Important scene collections, profiles, overlays, project files, and finished recordings need another copy on a different device or service. RAID, a second partition, or a second folder on the same drive is not a complete backup.
Network and I/O requirements
Use wired Ethernet when practical. The relevant number is stable upload capacity, not the maximum download speed advertised by the provider. Test at the time of day you normally stream, and leave headroom above your selected video and audio bitrates. Congestion, packet loss, unstable Wi-Fi, and an overloaded router can cause dropped network frames even when the PC is performing correctly.
If Wi-Fi is unavoidable, use a clean signal path and a modern access point positioned appropriately. Do not assume a high link-rate reading guarantees stable upstream delivery. Run repeated tests and monitor OBS network statistics during an unlisted or private broadcast.
Plan USB connections before the build is finalized. High-bandwidth cameras and capture devices may need separate controllers or specific ports. Avoid placing every critical device behind one unpowered hub. For audio, prioritize a stable driver and clean gain structure over elaborate software effects. Excessive real-time filters can add CPU load, latency, and new failure points.
Power supply, case, and upgrade margin
Estimate total power using the component manufacturers’ specifications, then select a reputable power supply with appropriate capacity, protections, connectors, and warranty. Do not choose wattage from the GPU name alone. Processor power limits, transient behavior, drives, pumps, fans, and future upgrades all matter. Native power cables are preferable to questionable adapter chains, and modular cables must never be mixed between incompatible power-supply models.
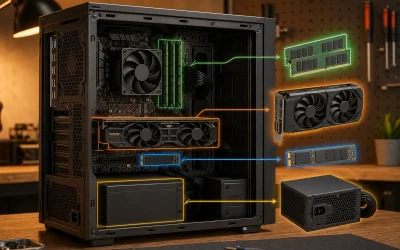
Confirm GPU length and thickness, cooler height, radiator support, memory clearance, and cable bend space against the case documentation. A mesh intake with two or more correctly oriented fans is often easier to cool quietly than a restrictive case filled with high-speed fans. Leave access to storage and expansion slots if you expect to add a capture card or another SSD later.
How to validate the finished streaming build
- Update deliberately. Install a stable firmware version, chipset drivers, GPU drivers, network drivers, and the current production release of OBS. Record the versions before changing them later.
- Test at defaults. Check memory, CPU, GPU, and storage stability before enabling memory profiles, undervolts, overclocks, or aggressive fan tuning.
- Reproduce the real workload. Run the actual game, scene collection, alerts, camera, microphone processing, chat tools, and local recording settings you intend to use.
- Observe the right counters. Watch game frame pacing, encoder overload, rendering lag, dropped network frames, temperatures, memory use, storage space, and audio synchronization. A single average-FPS number cannot validate a stream.
- Test transitions and worst cases. Change scenes, open busy game areas, trigger alerts, and record for longer than a short benchmark. Heat soak and memory growth may appear only after sustained use.
- Change one variable at a time. If the stream fails, reduce complexity methodically. Separate rendering, encoding, network, storage, and audio problems instead of replacing parts at random.
Save a known-good OBS profile after validation. Before an important broadcast, avoid simultaneous firmware, driver, plugin, and scene changes. A stable configuration is more valuable than a last-minute feature.
DIY build or prebuilt streaming PC?
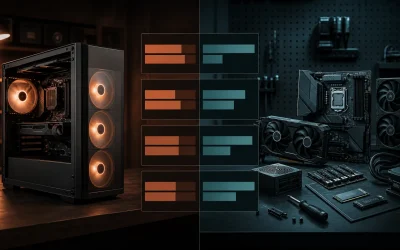
A DIY system gives you control over the motherboard, power supply, cooling, noise, storage layout, and upgrade path. It also makes you responsible for compatibility, assembly, firmware setup, troubleshooting, and individual component warranties. If you prefer a complete system with one support path, compare the current best prebuilt PCs for streaming instead. Keep the choice based on support needs and configuration quality, not on the assumption that either route is always cheaper.
Frequently asked questions
Do I need a separate streaming PC?
No. A well-balanced single PC with a supported hardware encoder is sufficient for many gaming streams. A second PC adds complexity, capture hardware, audio routing, power use, and troubleshooting. Consider it only when your production requirements or game workload justify that separation.
Is 16GB of RAM enough for streaming?
It can work for a controlled setup, but 32GB is a more practical target for a new build. Games, OBS, browsers, launchers, and creator utilities can consume memory unpredictably. More memory does not fix a slow encoder or unstable network, but it reduces avoidable pressure.
Should I spend more on the CPU or GPU?
For a hardware-encoded gaming stream, the GPU must first meet the game’s resolution and frame-rate target, while the CPU needs enough headroom for the game and production tools. The correct split varies by game and workflow. Avoid an extreme imbalance in either direction.
How much storage does a streamer need?
One terabyte is workable for a lean value build, while 2TB is more comfortable for modern games and recordings. Creators who retain high-quality footage should plan a second SSD and an independent backup destination. Estimate capacity from your own recording bitrate and retention period.
Can Wi-Fi be reliable enough?
Yes, in a well-designed network with a strong, uncongested signal, but wired Ethernet is easier to validate and usually more consistent. Test sustained upload behavior and packet loss rather than relying on one speed-test result.
Final build checklist
- The GPU encoder supports the intended codec and streaming software.
- The CPU has headroom for the game, OBS, audio, and background tools.
- Memory, motherboard firmware, cooler, case, and power supply are compatible.
- Storage has enough sustained capacity and free space for recordings.
- USB devices and expansion cards do not compete for unavailable ports or lanes.
- The network has stable upstream headroom at normal broadcast times.
- The complete real-world workflow has passed a sustained private test.
- OBS profiles, overlays, and important recordings have independent backups.
The best custom streaming PC is not the machine with the longest specification list. It is the one that can reproduce your real broadcast workload consistently, remain quiet enough for clean audio, and accept sensible upgrades without forcing a platform replacement. Choose the encoder first, balance the parts around it, and validate the system before trusting it live.